Before on the left and after on the right.
I
opened this image in Photoshop, and the first step I took was to go
into levels. I took the dark eye dropper and darkened the dark colors,
then took the light eye dropper and lightened the highlights. Next I
went to color balance, where I went to the mid-tones and put the yellow
slider to -60. I did the same for the highlights, since the original
picture was very blue. Last, I went into Hue/Saturation and put the
yellow saturation to +36, the blue to +65 and the reds to +17.
Before on top
After on Bottom
I
pretty much went in the same order as the previous picture. First I
went into levels and darkened the dark colors and lightened the lighter
colors with the eye dropper tool.
Next
I went into color balance, and adjusted for the mid-tones, yellow +21,
and green +21. Last I went to Hue/Saturation and changed the saturation
of the yellows to +27, greens to +33, blues to +79 and magenta's to
+72. I then took the eye dropper with the + and clicked on the pink
flower to bring out that color a little bit more. I made the second
picture brighter and brought out the colors more.

Before on top.
After on bottom.
First
I cropped and straightened the image. Next I took the brightness to 29
and the contrast to 27. Then I went to color balance and took the yellow
mid tone to -19, and cyan mid-tone to -9. Next I went to levels and
darkened the dark colors and lightened the light colors. Following that,
I went to hue and saturation and but the blue saturation to +48. I then
selected the sky and increased the saturation of the blues and yellows
to make the sky pop a little bit more.
Top before
Bottom after
First
I went in and sharpened the image a little bit. Second, I went to
brightness and contrast and took the brightness to -8 and the contrast
to 12. Next I went to levels and used the eye dropper to darken the dark
colors and lighten the light colors. Next was color balance. I put the
yellow midtones to -23 and cyan midtone to -9. Last I went into hue and
saturation and put the cyan to +39 and yellow to -24.

Top before
Bottom After

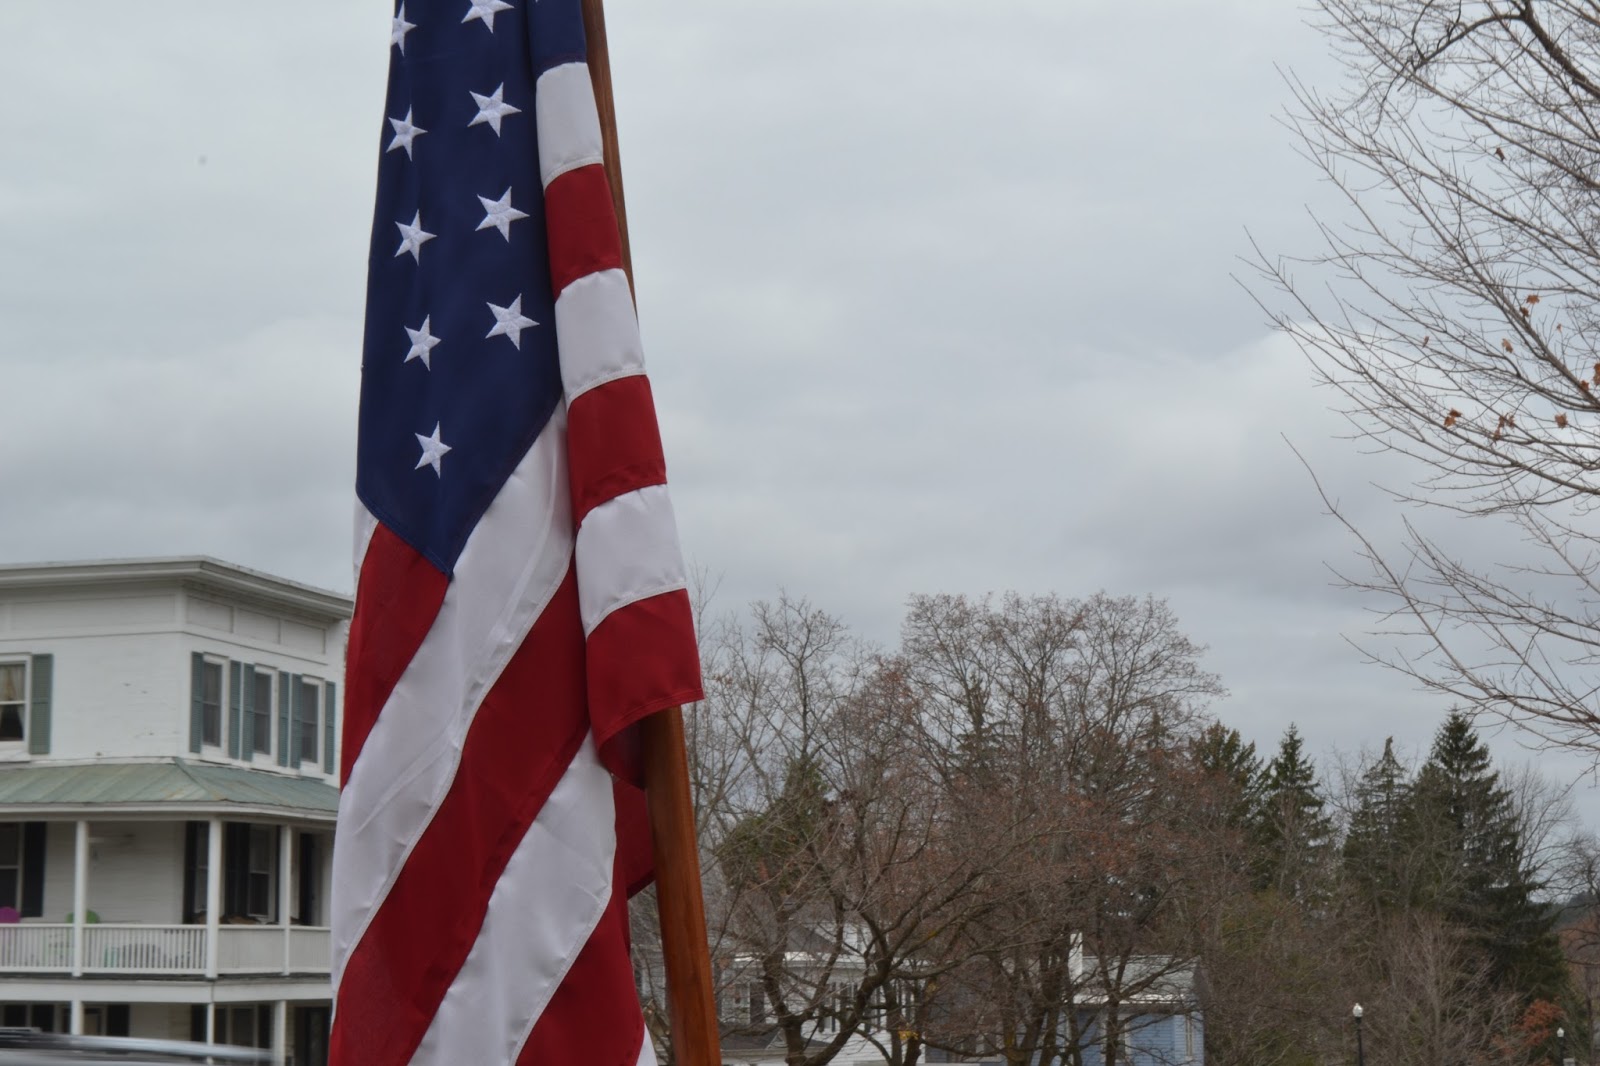
First I went to brightness and contrast and upped the contrast to 99 and
the brightness to 7. Then I selected the lower left corner because it
was way over exposed and bright the brightness and contrast down an bit
to balance it out. Next I went to levels and adjusted it to make it a
little darker because it looked washed out. Then I went into color
balance, and selected the background and took the cyans to - 26.I made a new layerof color balance and included the whole picture, and took yellow to -26. Last, I changed the saturation of the reds to + 27, greens to +20 and cyan to -48.
Top before
Bottom After
The first step I took was to crop and straighten the image.Then I took the brightness to 9 and the contrast to 49. Following that, I went to levels and darkened the image up. Next I went to color balance and took cyan to -23 and yellow to -14. Finally I added some saturation, red +11 and cyan to +20
Back
light with front light. I took this through a tree, looking at the sun.
I chose to use this photograph because even though there are sun spots,
I liked the way you can see the suns rays coming through the leaves,
and how you can see how green the leaves are with the sun behind them.
Backlight #2
I
started with levels and used the eye dropper to make the darks darker
and lights lighter. I then went to color balance and made the midtones
of yellow -19 since it was a little blue. I brightened it up and took
the contrast up to 44 as well. Next I took the selection of my model and
darkened it up a little with contrast and took the ground and darkened
it up a little bit as well. Next I selected the sky and lightened it up a
tad, and adjusted the mid tones and highlights.


 Before on top.


 First I went to brightness and contrast and upped the contrast to 99 and
the brightness to 7. Then I selected the lower left corner because it
was way over exposed and bright the brightness and contrast down an bit
to balance it out. Next I went to levels and adjusted it to make it a
little darker because it looked washed out. Then I went into color
balance, and selected the background and took the cyans to - 26.I made a new layerof color balance and included the whole picture, and took yellow to -26. Last, I changed the saturation of the reds to + 27, greens to +20 and cyan to -48.
First I went to brightness and contrast and upped the contrast to 99 and
the brightness to 7. Then I selected the lower left corner because it
was way over exposed and bright the brightness and contrast down an bit
to balance it out. Next I went to levels and adjusted it to make it a
little darker because it looked washed out. Then I went into color
balance, and selected the background and took the cyans to - 26.I made a new layerof color balance and included the whole picture, and took yellow to -26. Last, I changed the saturation of the reds to + 27, greens to +20 and cyan to -48. 


 Frozen Motion #1